How to Edit Text in Canva Craft Images
To change text in a Canva Craft image, request the edit in Dream Lab or convert the image with Magic Layers and edit the resulting text object. If you already see a text cursor, edit that object directly. For a workshop poster whose date has changed, start with one specific correction, then check the exported image against the original.
Choose how you want to change the text
If a text cursor appears when you select the words, you can edit that text object directly. If the image stays selected, choose an image edit or a conversion below. Canva describes Magic Layers as a separate way to turn Craft images into editable elements.
| Your situation | Try this route | What to check |
|---|---|---|
| One correction to an approved Craft image | Request the specific change in Dream Lab. | Read every line and compare the rest of the design. |
| You want to type directly into the words | Convert with Magic Layers, then edit the text object. | Check fonts, shadows and line breaks after conversion. |
| A date or price will change again | Keep those details in ordinary text boxes. | Start with blank space. A new text box will not remove words baked into the picture. |
Scroll horizontally to read all columns.
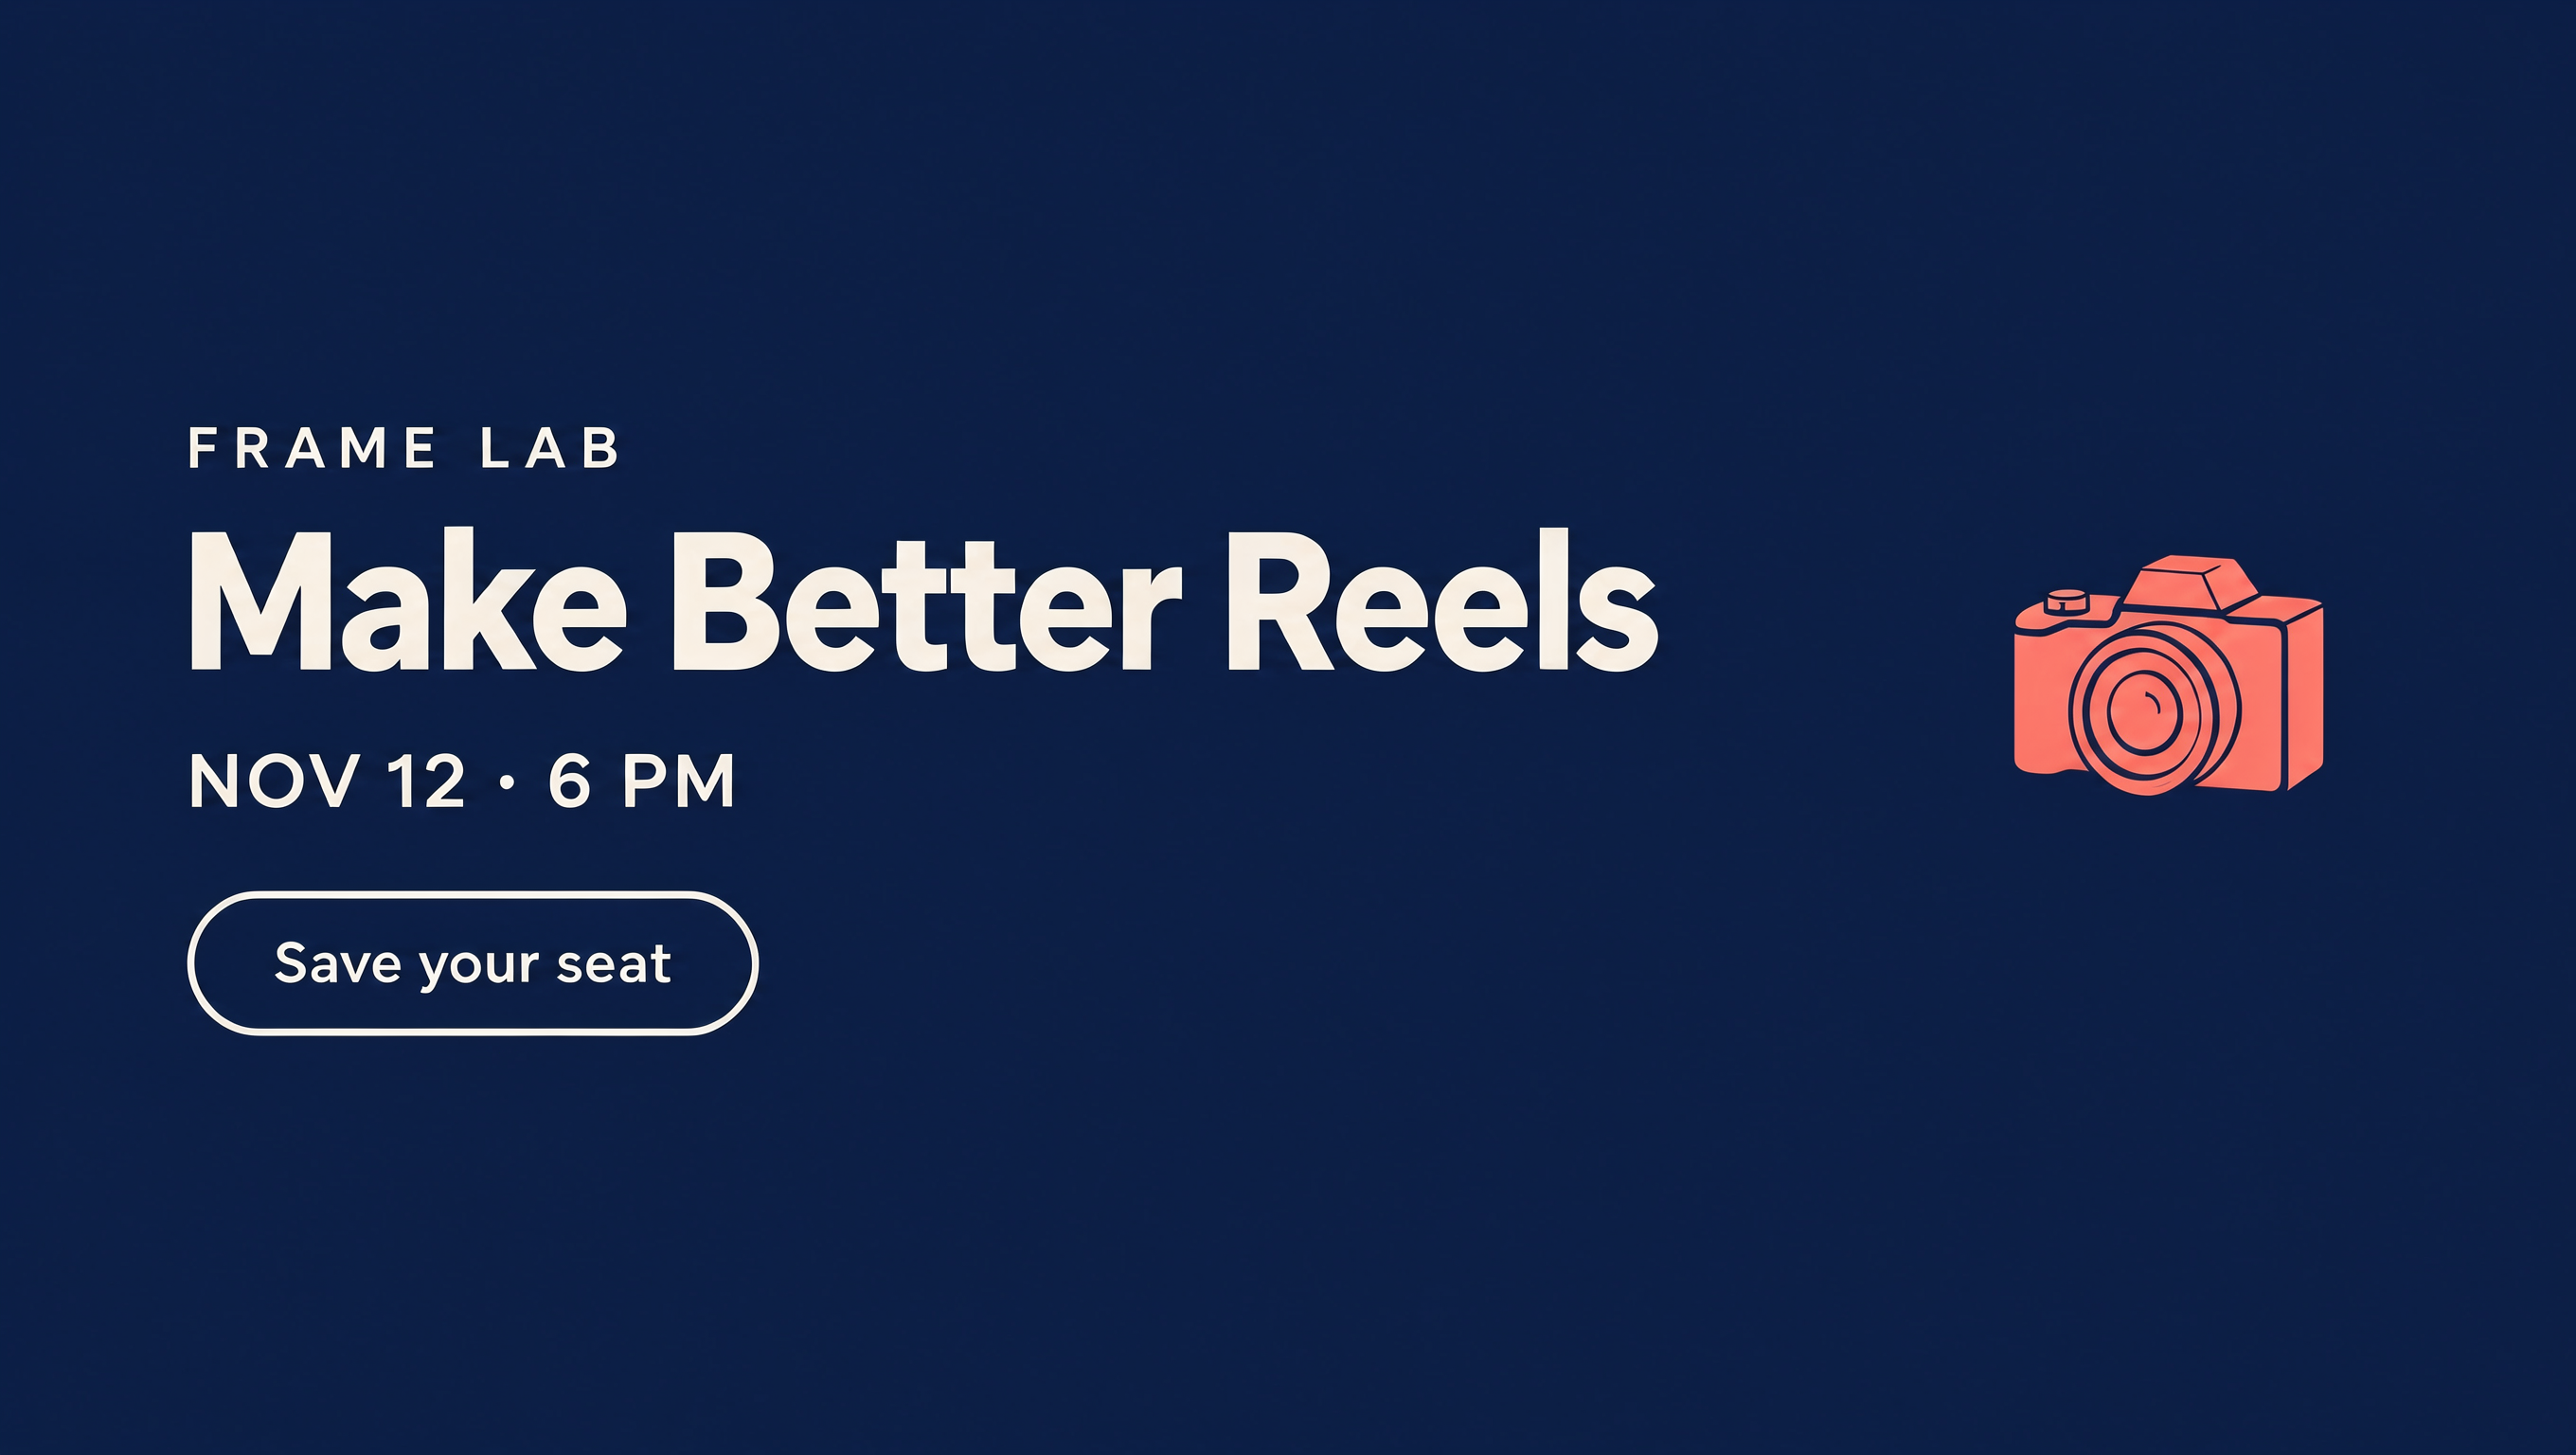
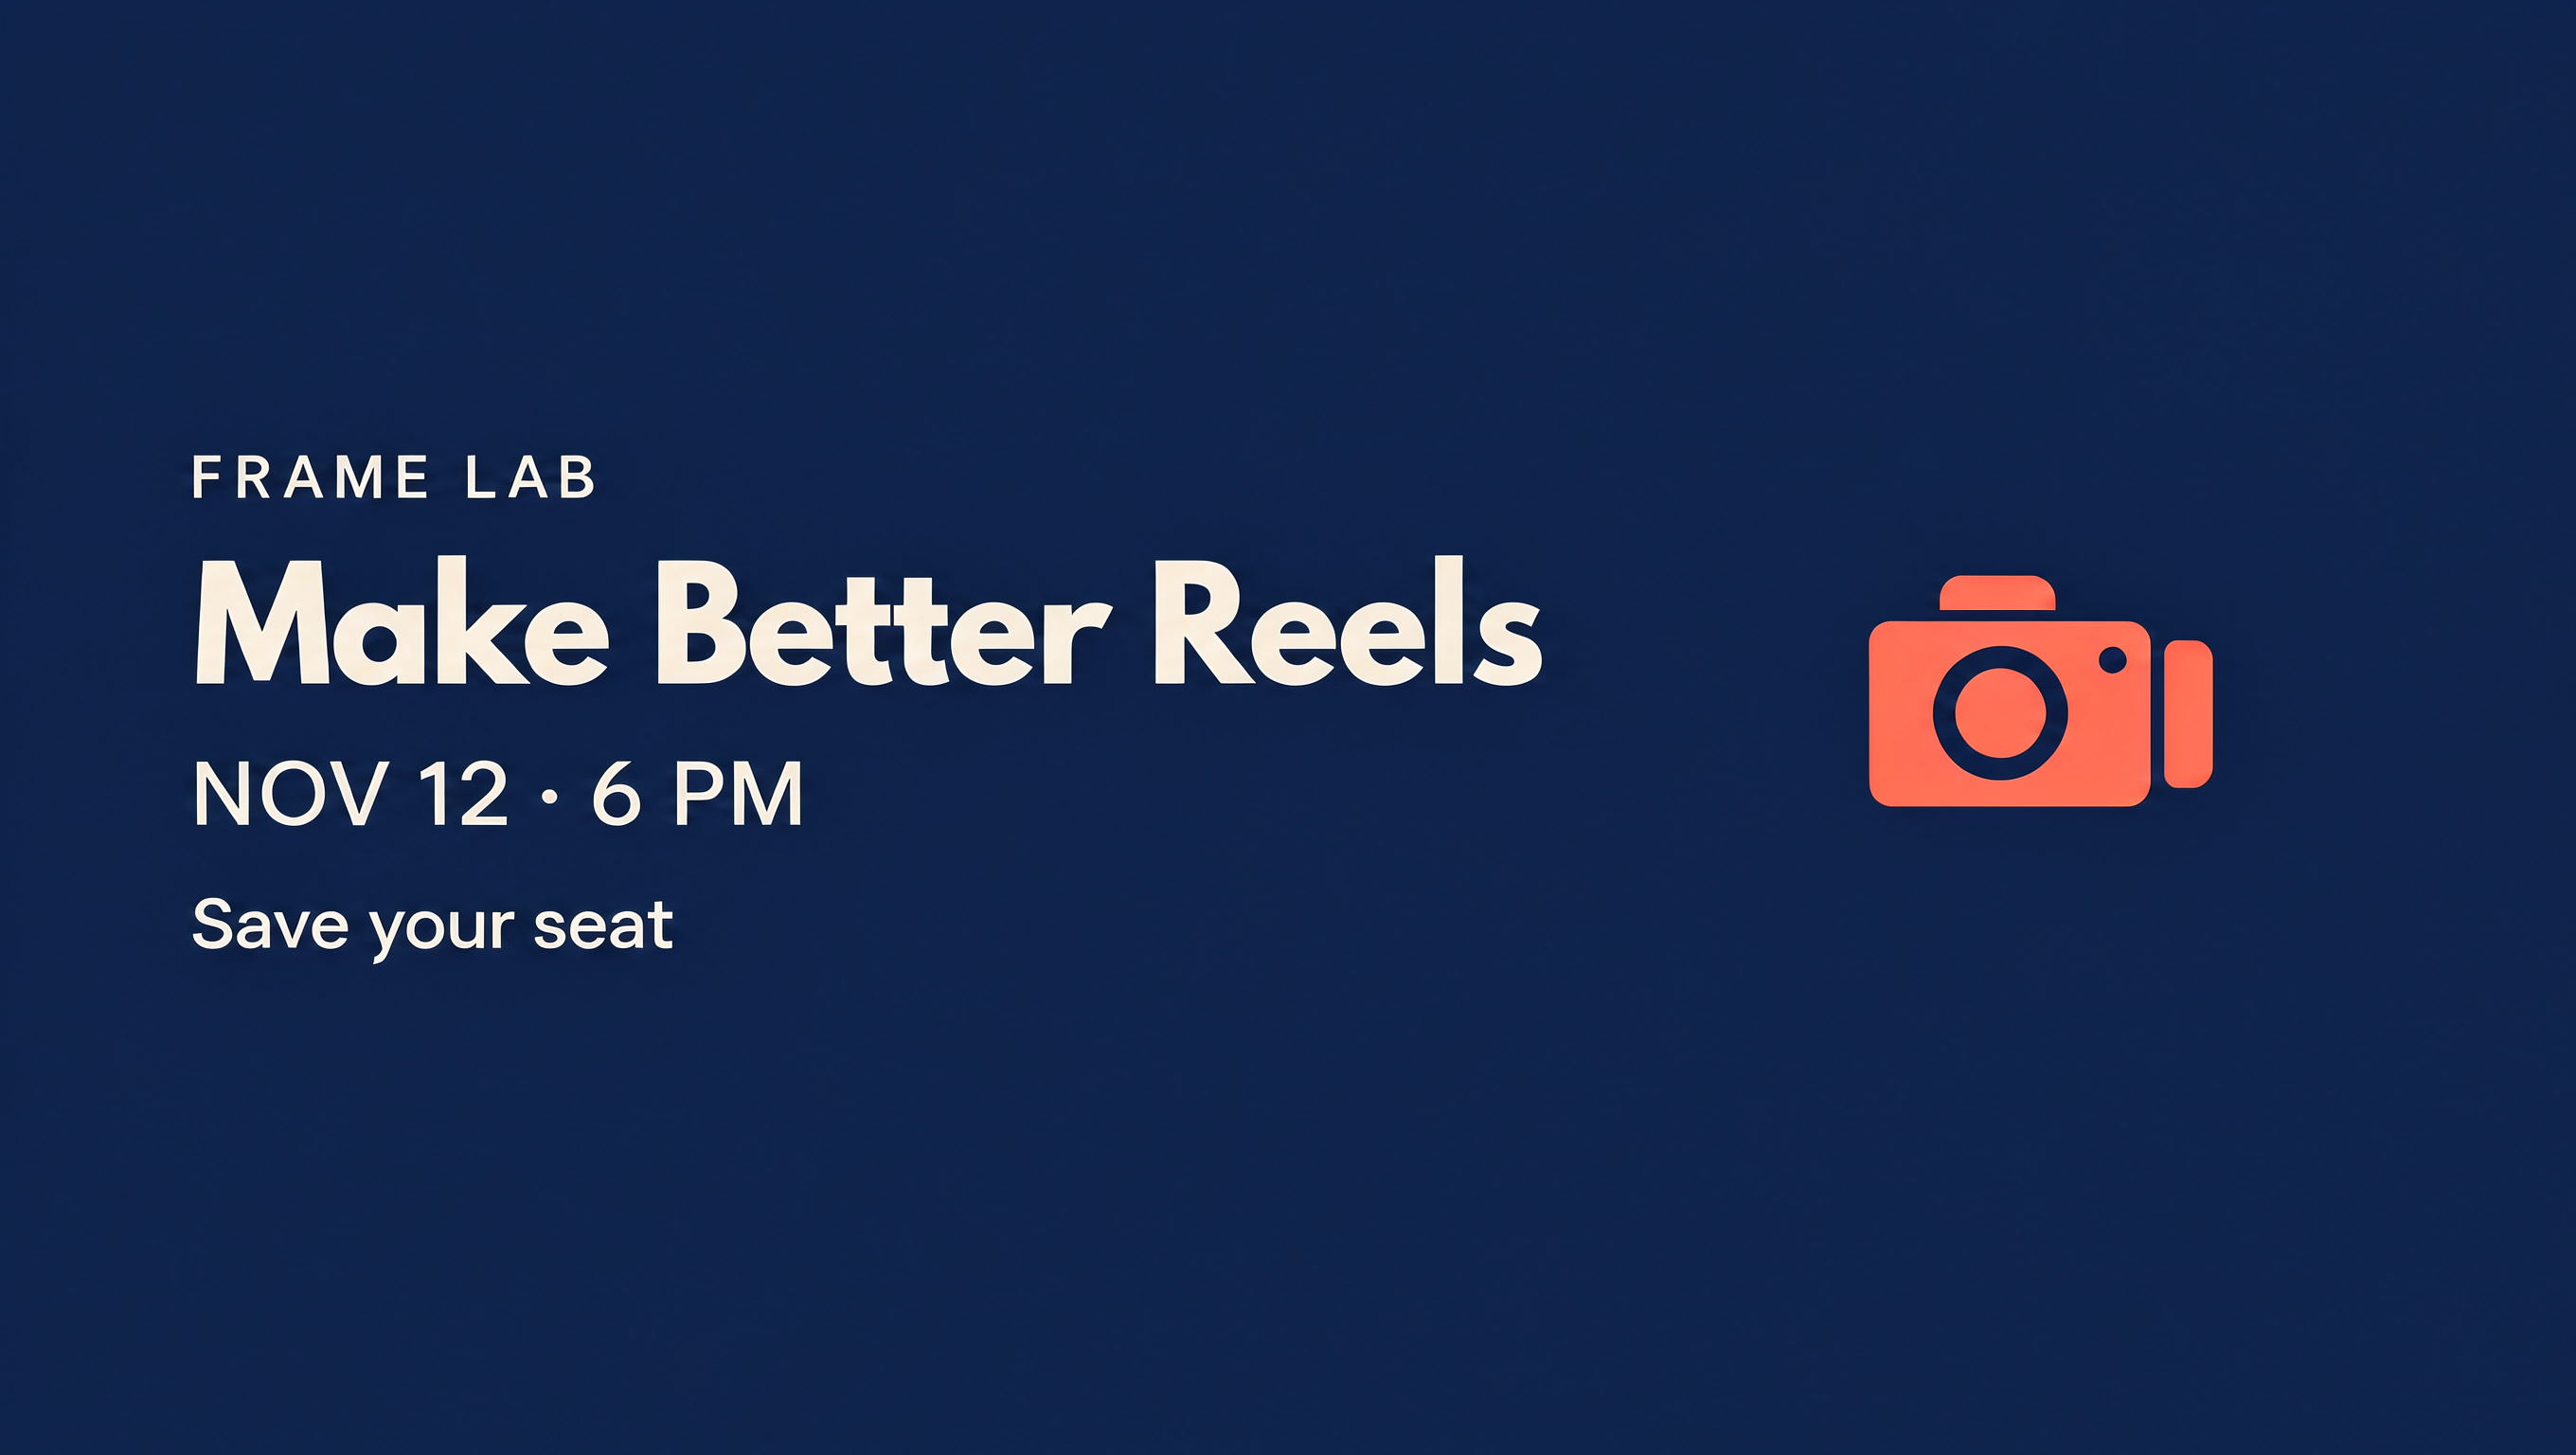
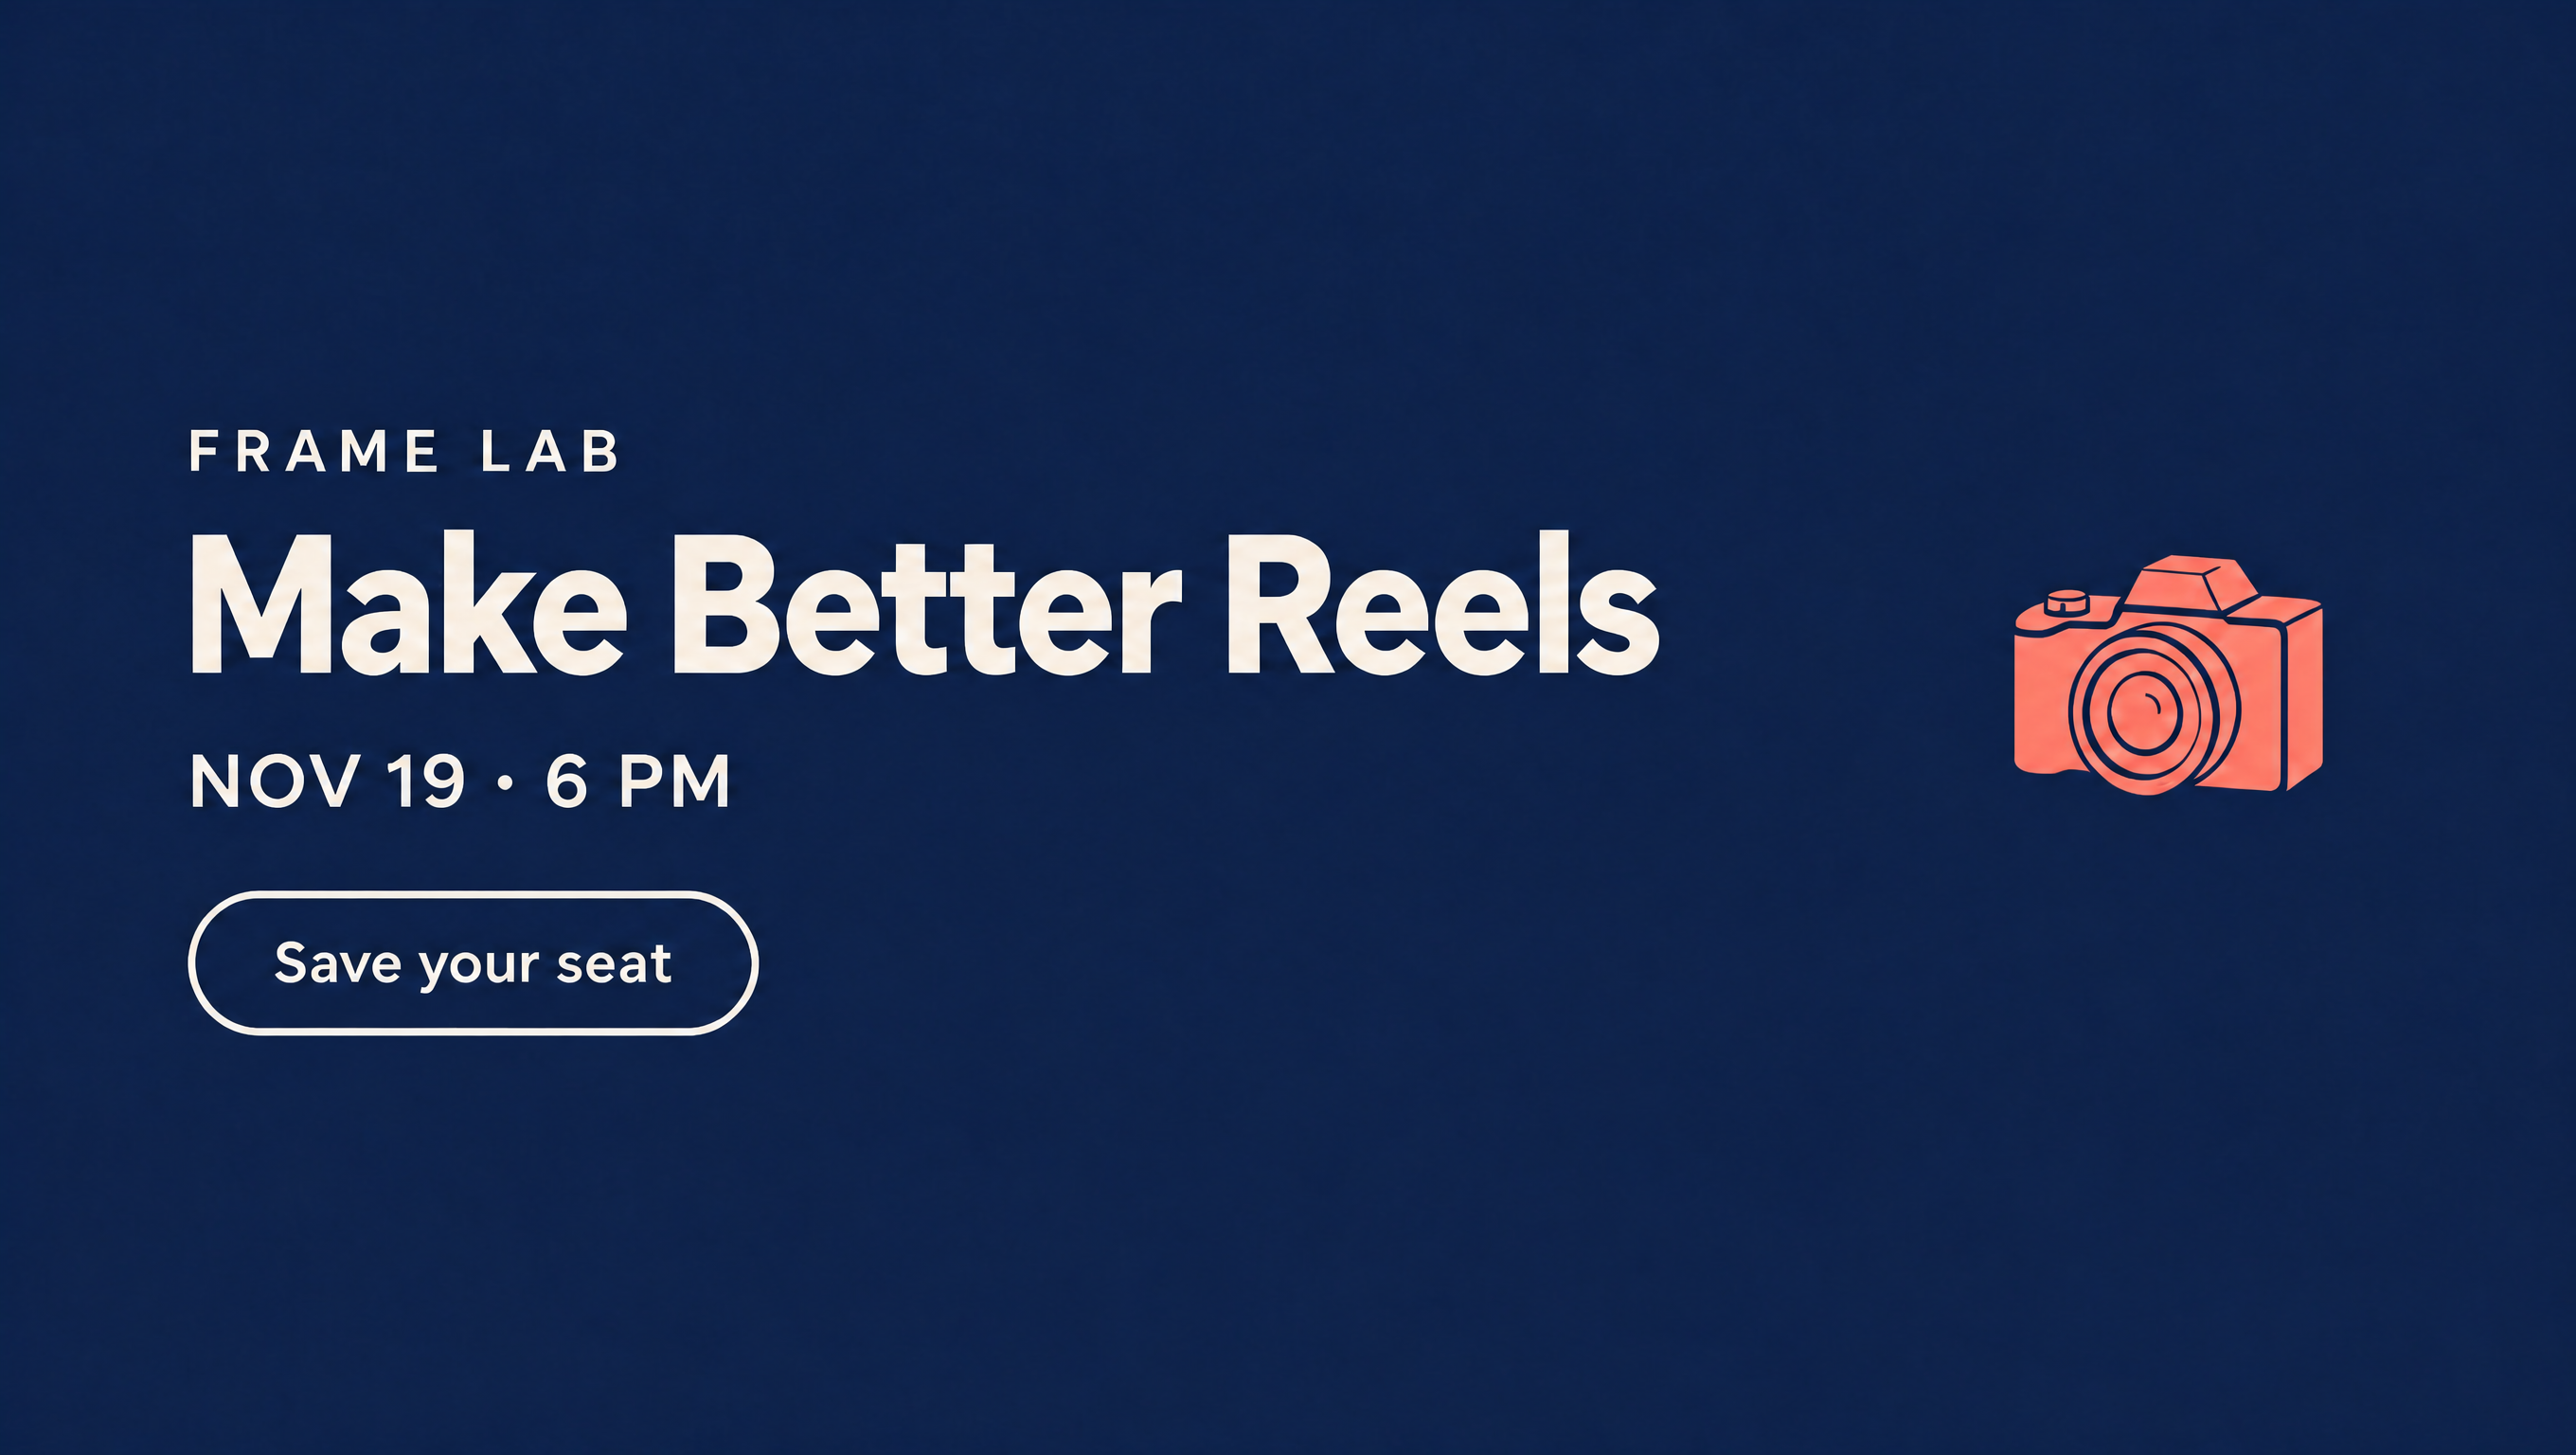
Say you teach a workshop and the date changes after you have approved the poster. You need the new date without rebuilding its look. We tried that correction on a fictional Frame Lab poster: NOV 19 became NOV 26, while 6 PM and the rest of the design were meant to stay.
For the text-box edit, we reused a design already converted with Magic Layers. Starting from a flat picture adds that conversion step. We did not measure the time or credits either route used. Compare the original and both edits below.
For your own poster, use the update worksheet to record the exact change and check the final file.
Ask for one change in Dream Lab
Open Dream Lab and select the saved image you want to revise. Our account showed Canva Craft-1 2K for the original generation on November 9; the later edit screen did not identify its model.
- Open the saved image you want to revise. Keep a copy of that approved version so you can compare the result.
- Use the change-request box beneath the image. Name the exact old and new text, and say what needs to stay.
- Review the returned image before opening it in the editor. Read every line, including details outside the requested change.
This is the exact request we used for the NOV 19 poster. Replace both dates if you adapt it to your own image.
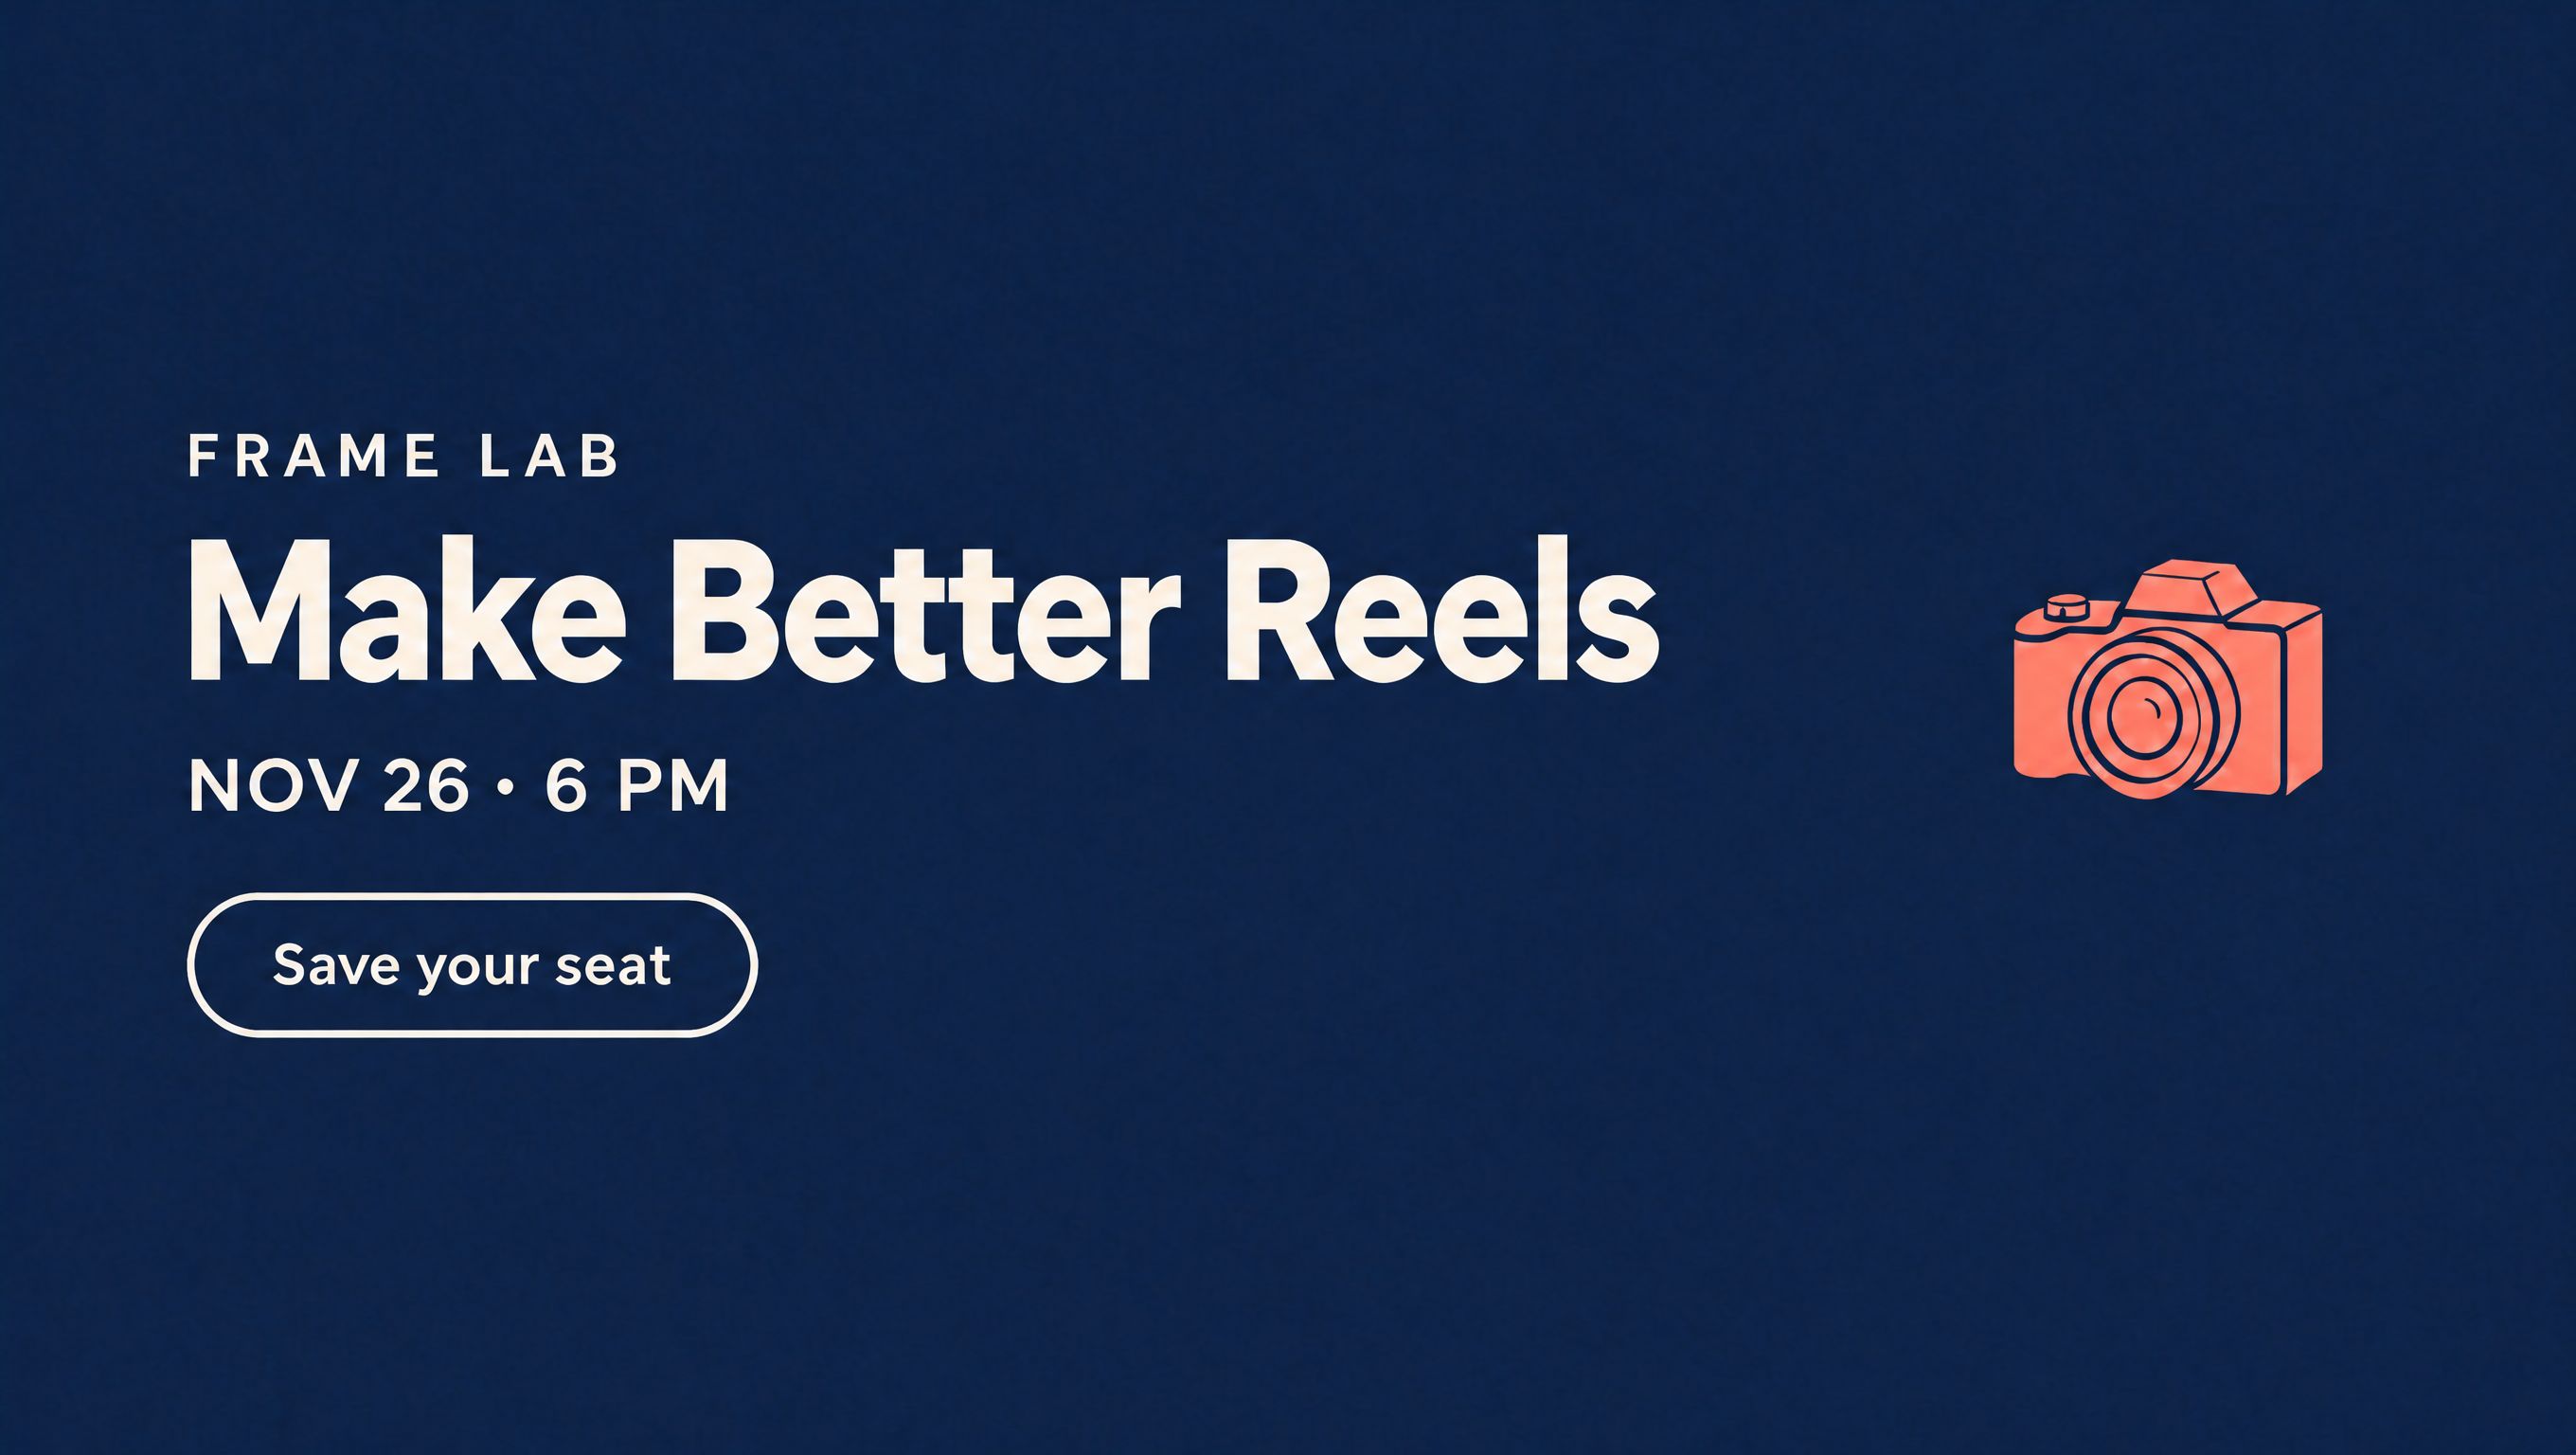
Change only NOV 19 to NOV 26. Keep 6 PM, every other word, font, layout, colors, camera illustration and image size exactly unchanged. Keep the date and time on one line. Add no text.
The date changed correctly, and we saw no obvious change to the other words, camera illustration or overall layout. That was a visual comparison of one result, not a pixel-for-pixel match. If your result changes another detail, return to the saved version rather than building the next revision on an unwanted change. See the AI result beside the original and layered export.
Edit a text box with Magic Layers
Magic Layers creates editable elements from a flat picture. Canva’s instructions cover single-page PNG and JPG images; the quality of the separation depends on the image. Work on a copy so you can return to the original artwork. After conversion, compare the fonts and spacing with your saved picture before continuing.
- Open the picture in Canva’s editor, select the image, then choose Edit → Magic Layers when your account offers it.
- Wait for the conversion, then select the date as a text object. A text cursor or text controls should appear; selecting the whole image means you are still working with the flat picture.
- Replace the required wording. Check the text box as well as the spelling, because the new line may wrap.
- If it wraps, widen the box into available space while keeping its position. Check the result against the surrounding artwork.
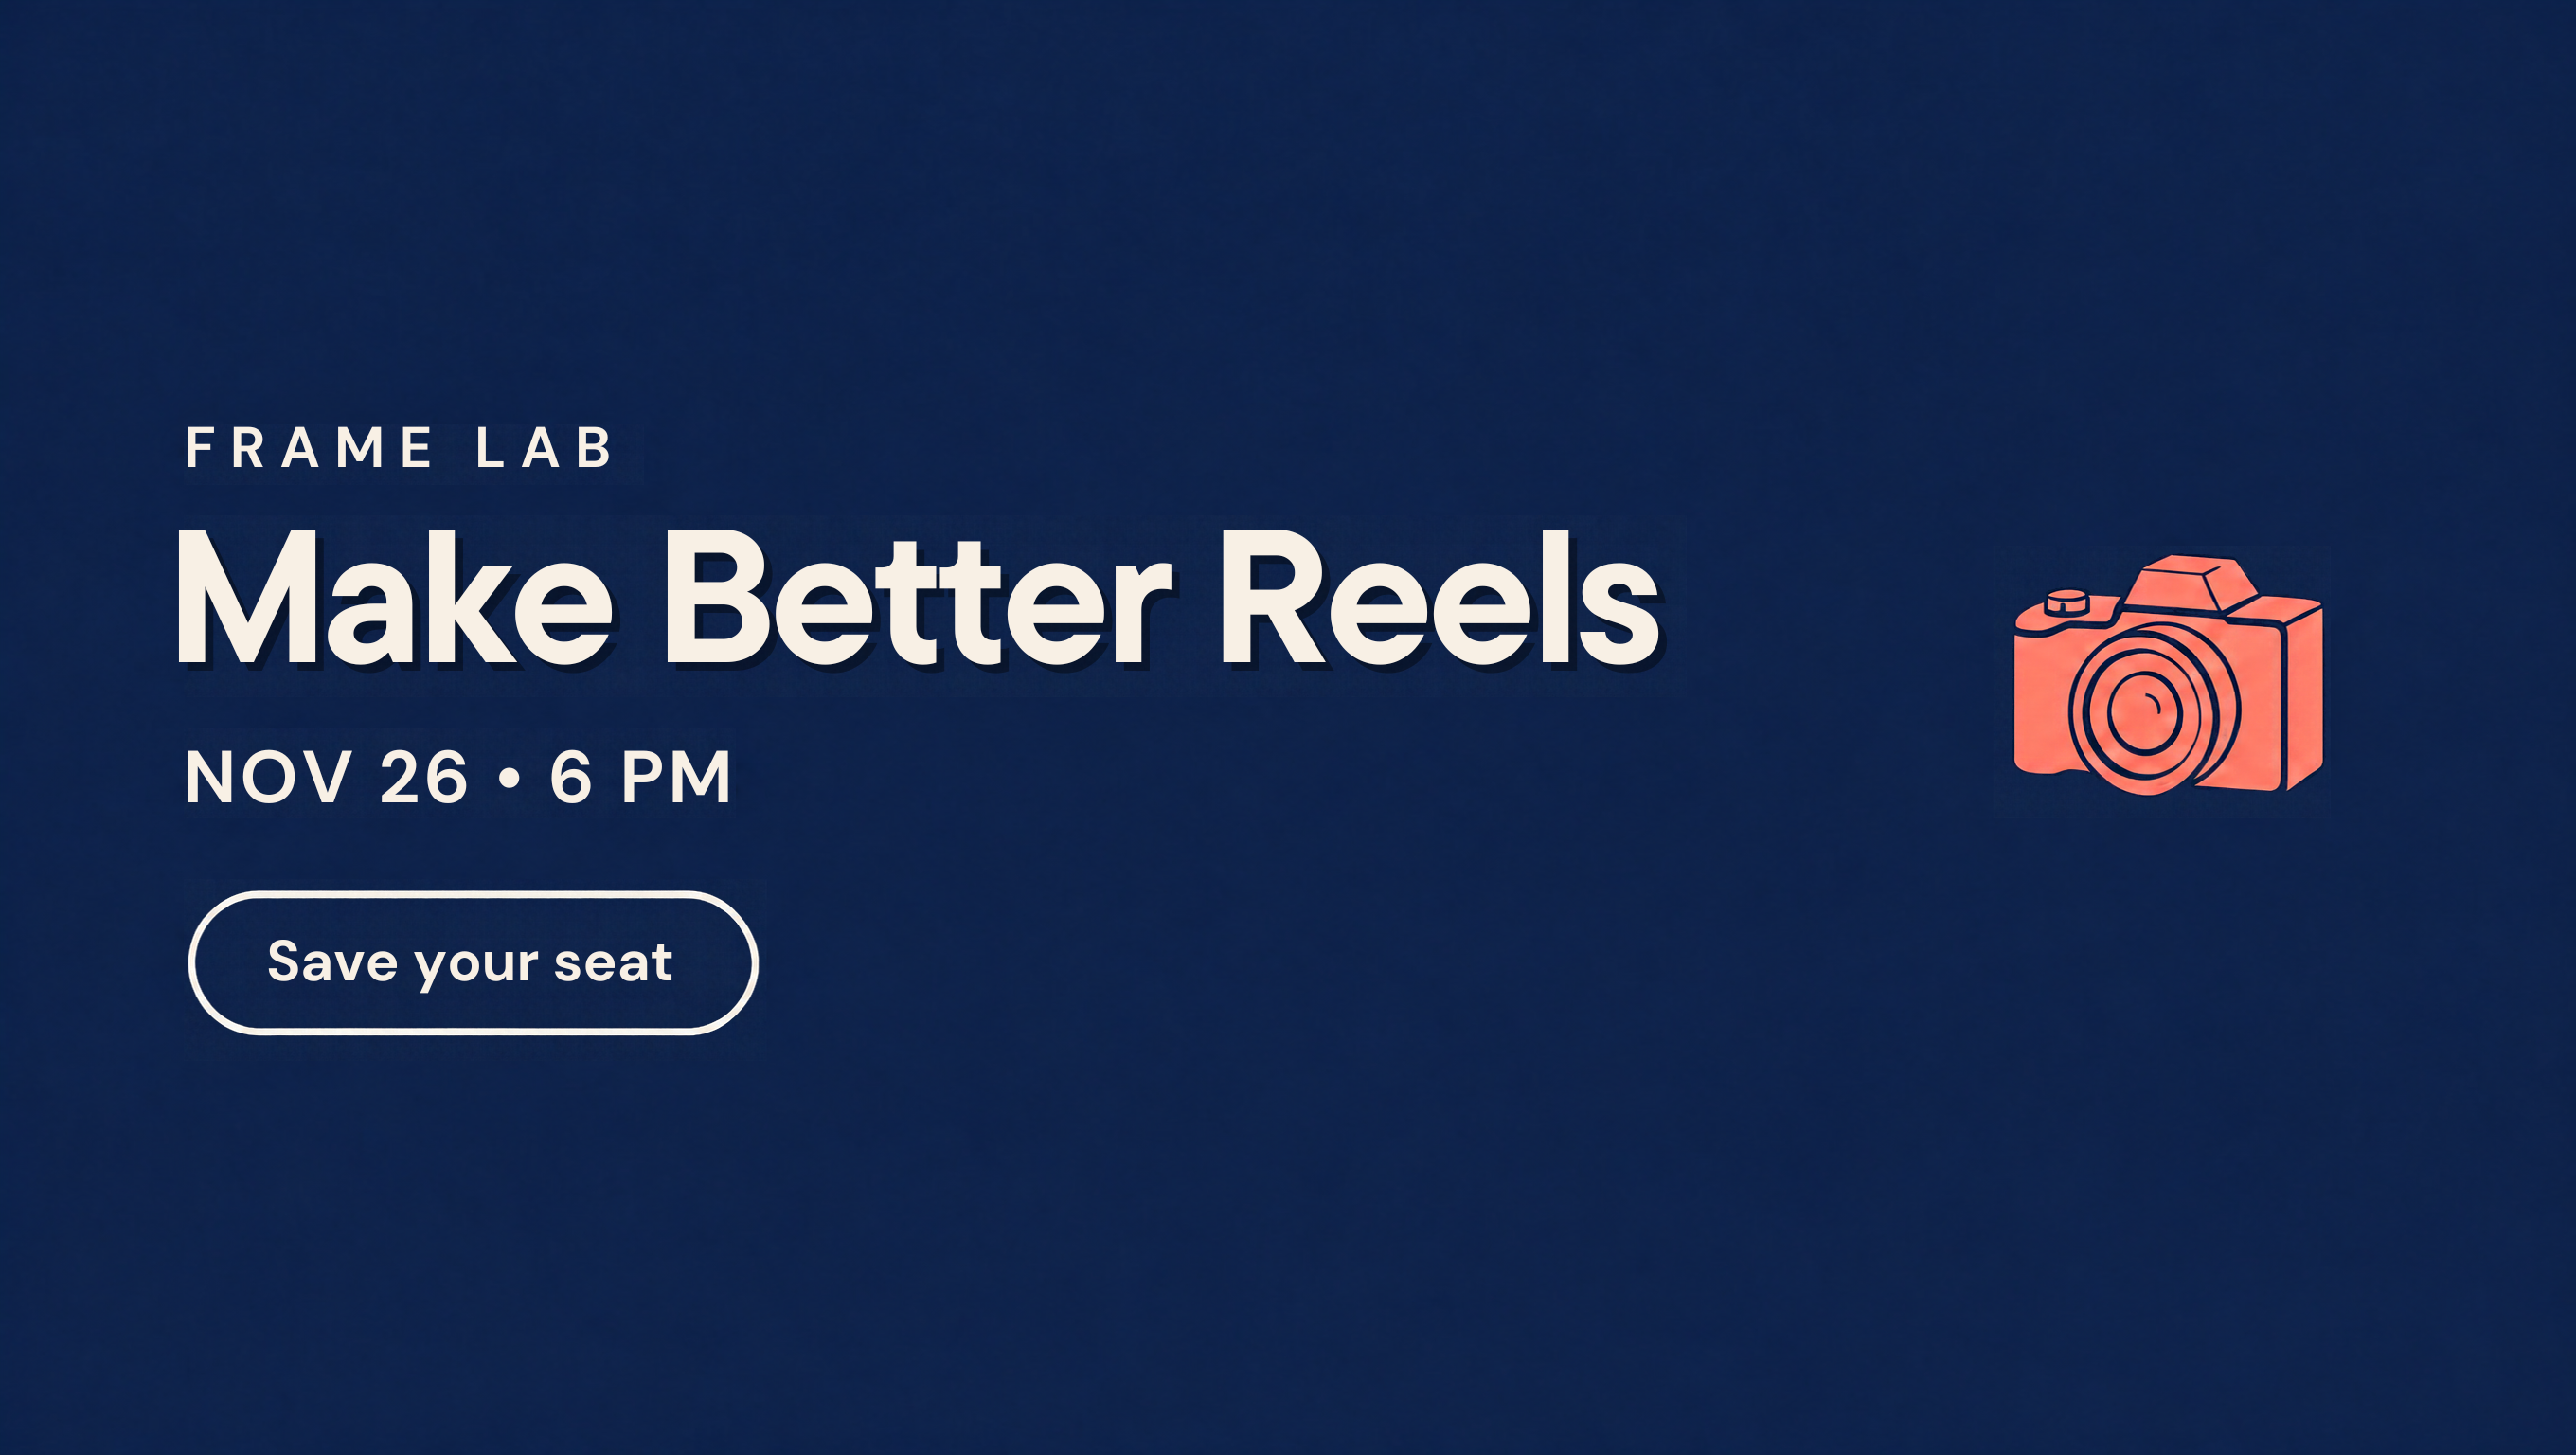
Our saved image had already been separated into layers. Replacing the whole date line with NOV 26 • 6 PM left PM on a second line. The new date was right, but the line no longer matched the intended layout.
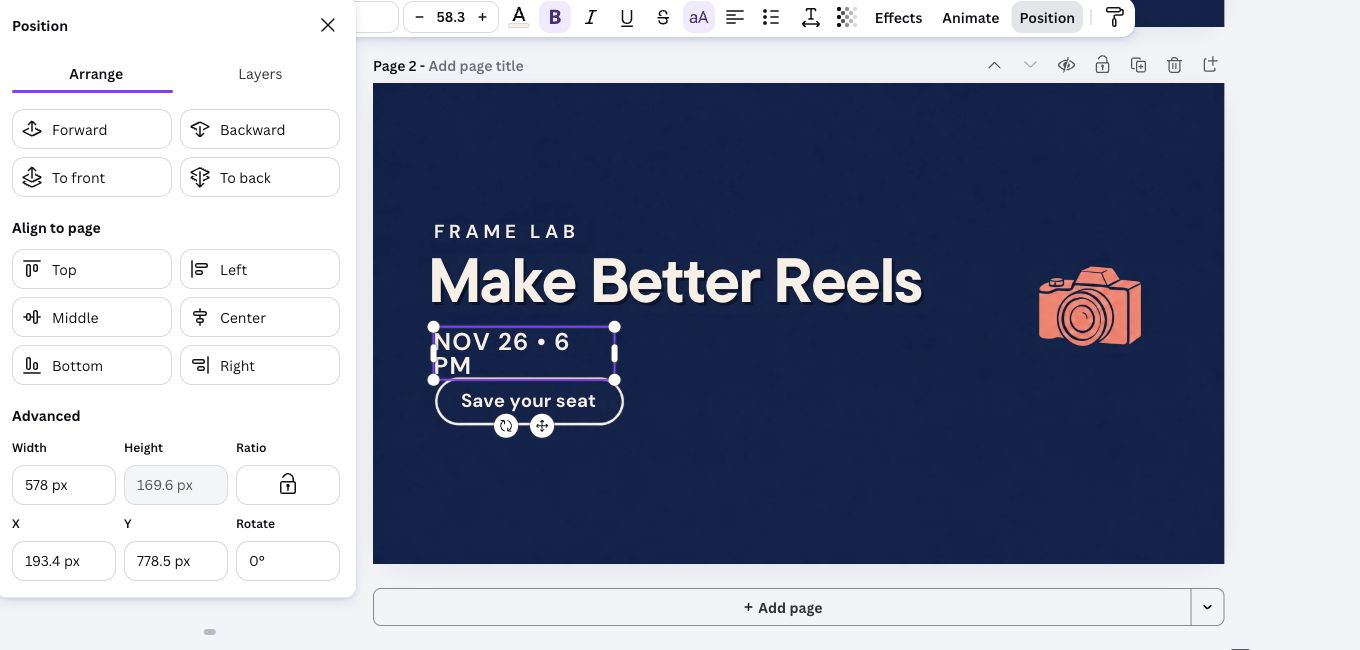
Increasing that text box’s width from 578 to 700 pixels restored the single line without changing its X or Y position. Those dimensions belong to this 2720 × 1536 design; your text needs whatever width fits its font and placement. We did not repeat the test by changing only the two date digits, so the wrap is a reason to check your own edit, rather than an inevitable Magic Layers problem.
The layered design also had visibly different headline styling, including a heavier dark shadow. That difference was already visible before we changed the date. Widening the date box fixed the wrap; it did not restore the original headline styling. Compare the headline as well as the date before approving your version.
Compare the original and both edits
Open an image to inspect its date line and headline at full size.
If the text will not edit or looks different
Only the whole picture selects. The words are still part of the image. Try an image-edit request or convert it with Magic Layers first. If that option is missing, check your account’s tools and allowance.
The new line wraps. Widen the text box into available space, then check its position against the surrounding artwork.
The headline looks different. Compare the fonts and shadows with your saved original. If keeping that look matters, return to the original and try a specific image-edit request.
Keep changing details in ordinary text boxes
For a workshop you run again, the artwork may stay useful after the date changes. Leave space for event details when generating the artwork, then add the date and booking line using Canva’s Text panel. Keep that Canva file as your working version for the next event.
Adding a new text box over an old date does not remove the date baked into the picture. Use a genuinely blank area, replace the underlying artwork, or separate the existing text before rebuilding it. Compare the background after any removal so the repair does not become the most noticeable part of the poster.
This is a workflow choice: let the image model explore the artwork, then keep changing business details in a form you can control. Our guide to choosing which content tasks to give AI helps apply the same decision to the rest of a post.
Check the exported file before posting
A tidy editor preview is only part of the job. Download the finished graphic and open that file: it is the version your audience will receive. We retrieved the repaired manual version on November 9 as a 2720 × 1536 PNG and checked that NOV 26 • 6 PM remained on one line.
- Read the date, time and call to action in the downloaded file.
- View it at the size and crop where you plan to post it. Confirm that every essential word remains legible.
- Keep the editable Canva design alongside the exported image so the next correction has a working file.
- Check any caption, spoken announcement and linked booking page against the approved new details. A corrected poster can still travel with an old date in the copy.
Download the repaired PNG to inspect the exported result.
A correct edit can still produce an unsuitable file. In our separate ChatGPT product GIF test, a price revision also changed the canvas dimensions. The practical habit is the same: check the download against the format you actually need.
Use a worksheet for the next correction
Start with the approved image and the exact words you want to change. Fill in this plain-text worksheet before editing, then work through its checks with the downloaded file open. It also gives you one set of event details to reuse in your promotion.
CHANGE RECORD
Artwork / working-file name: [ADD FILE]
Exact old wording: [OLD TEXT]
Approved new wording: [NEW TEXT]
Words and details to preserve: [UNCHANGED TEXT / DESIGN]
Route: [AI REQUEST / MAGIC LAYERS / EXISTING TEXT BOX]

CHECK THE DOWNLOADED IMAGE
[ ] New wording is correct; old wording is gone.
[ ] Other text, illustration and styling match the approved original.
[ ] No unwanted wrapping or cropped words at the intended posting size.
[ ] Editable working file and final export are both saved.

UPDATE THE PROMOTION
[ ] Caption and spoken/on-screen dates match the new poster.
[ ] Booking page or linked event details have been checked.
Complete event date, year, time and time zone: [ADD ALL FOUR]
Approved event title: [TITLE]
Audience and supported benefit: [ADD YOUR FACTS]
Booking destination and approved CTA: [LINK / CTA]

OPTIONAL: RECORD YOUR EDITING EFFORT
Image requests / retries: [COUNT]
Conversion, edits, review and export: [MINUTES, INCLUDING WAITING]
AI allowance shown before / after: [VISIBLE VALUES OR NOT SHOWN]
Do not turn a button-press count into credits used.
Download the editable text worksheet. It is a text document; keep your Canva design separately.
Fictional example: record NOV 19 → NOV 26 and preserve 6 PM, “Make Better Reels” and “Save your seat.” After editing, compare those details in the export with the saved original. Add the real year and time zone before using them in an announcement.
If you want to compare the effort involved, include conversion, waiting, review and export in your timing. Note only the allowance Canva actually shows. A count of requests cannot tell you how many credits were used; we did not measure either route’s time or allowance use.
Once the graphic is right, those approved details can become the brief for a short announcement video. Kabo’s script-writing workflow starts with your audience, message and supporting facts. Bring the new date, year, time zone and booking CTA, plus the workshop benefit you can support; review the draft against the poster before recording.
Free access and where Brush fits
The October 29 test used a free Canva account, with no paid subscription or trial activated. On November 9 we reopened the saved design and downloaded its PNG without starting a trial. That shows this account could finish this example; access in your account still needs checking.
Canva’s AI usage guidance describes a shared monthly allowance and limited access for Free accounts. Magic Layers is a Premium AI tool. The amount used depends on the tool and task, so counting our button presses would not tell you how many credits were spent. Check the allowance shown in your account before requesting more AI work.
Brush is another Canva model, aimed at editing designs. Its launch announcement describes supported design edits for Pro subscribers, with wider access planned. Our image-edit screen did not show its underlying model, so the date-change example cannot establish Brush access or performance.
Sources and test files
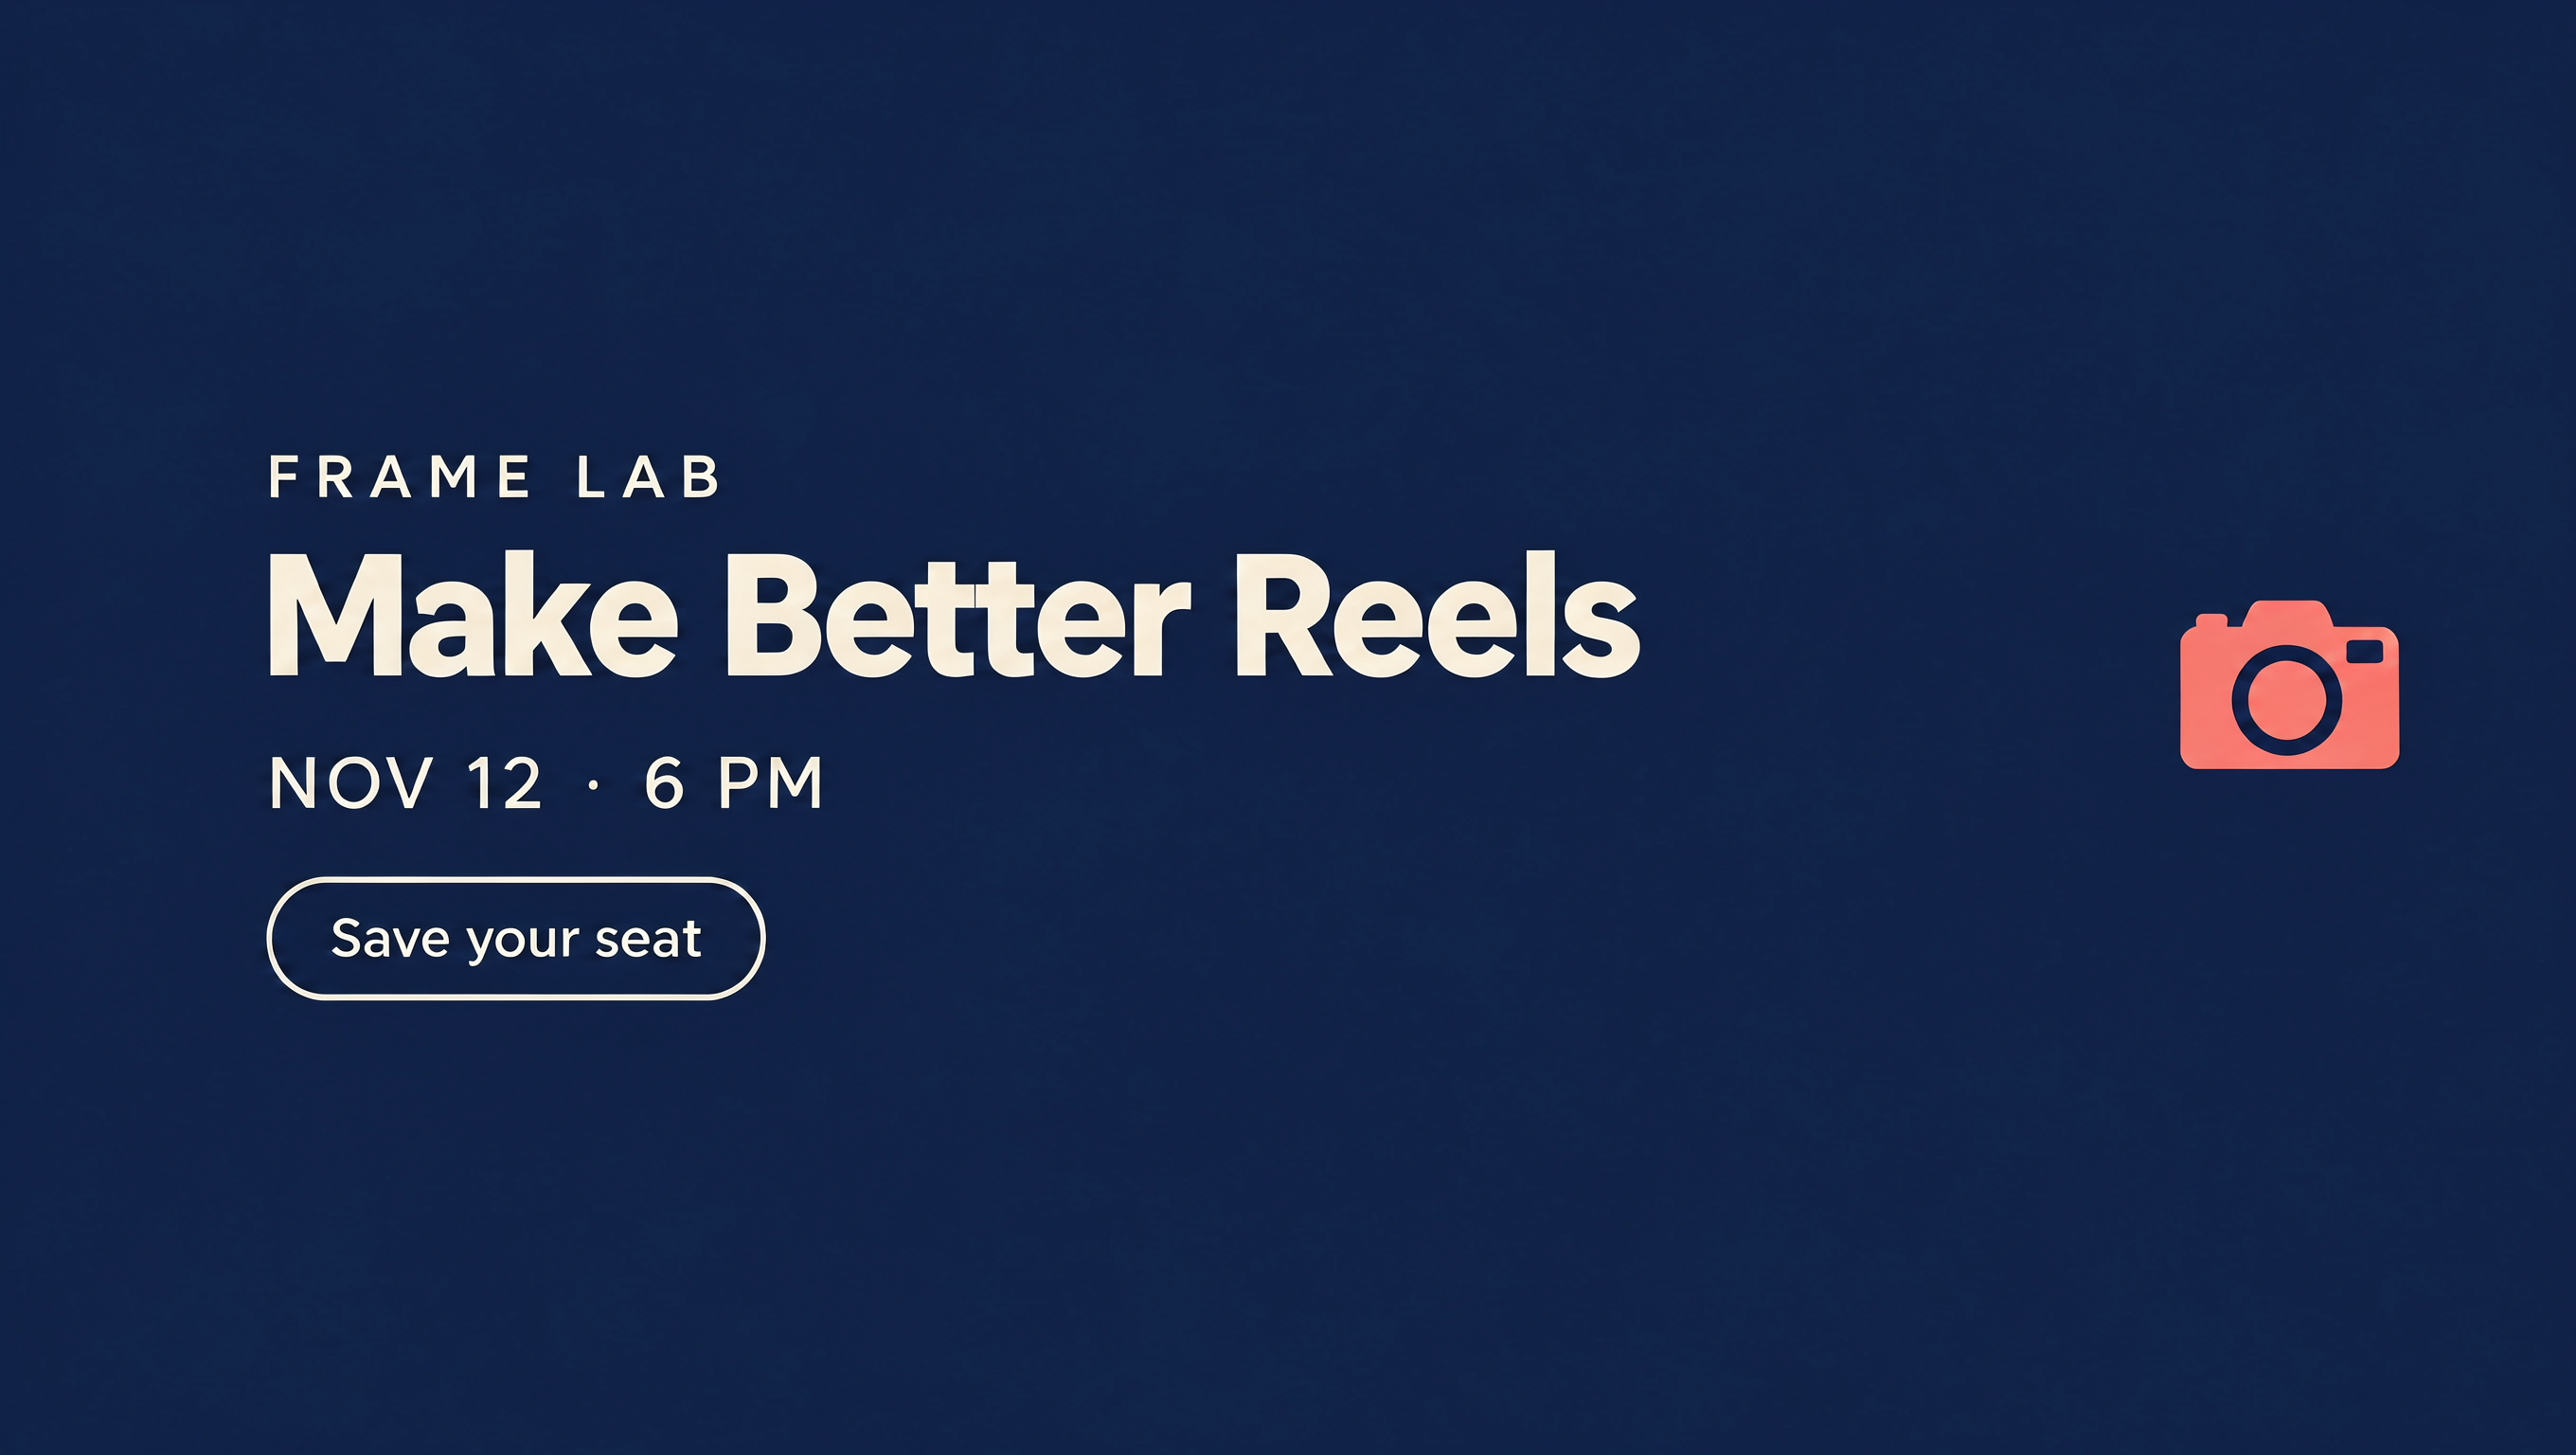
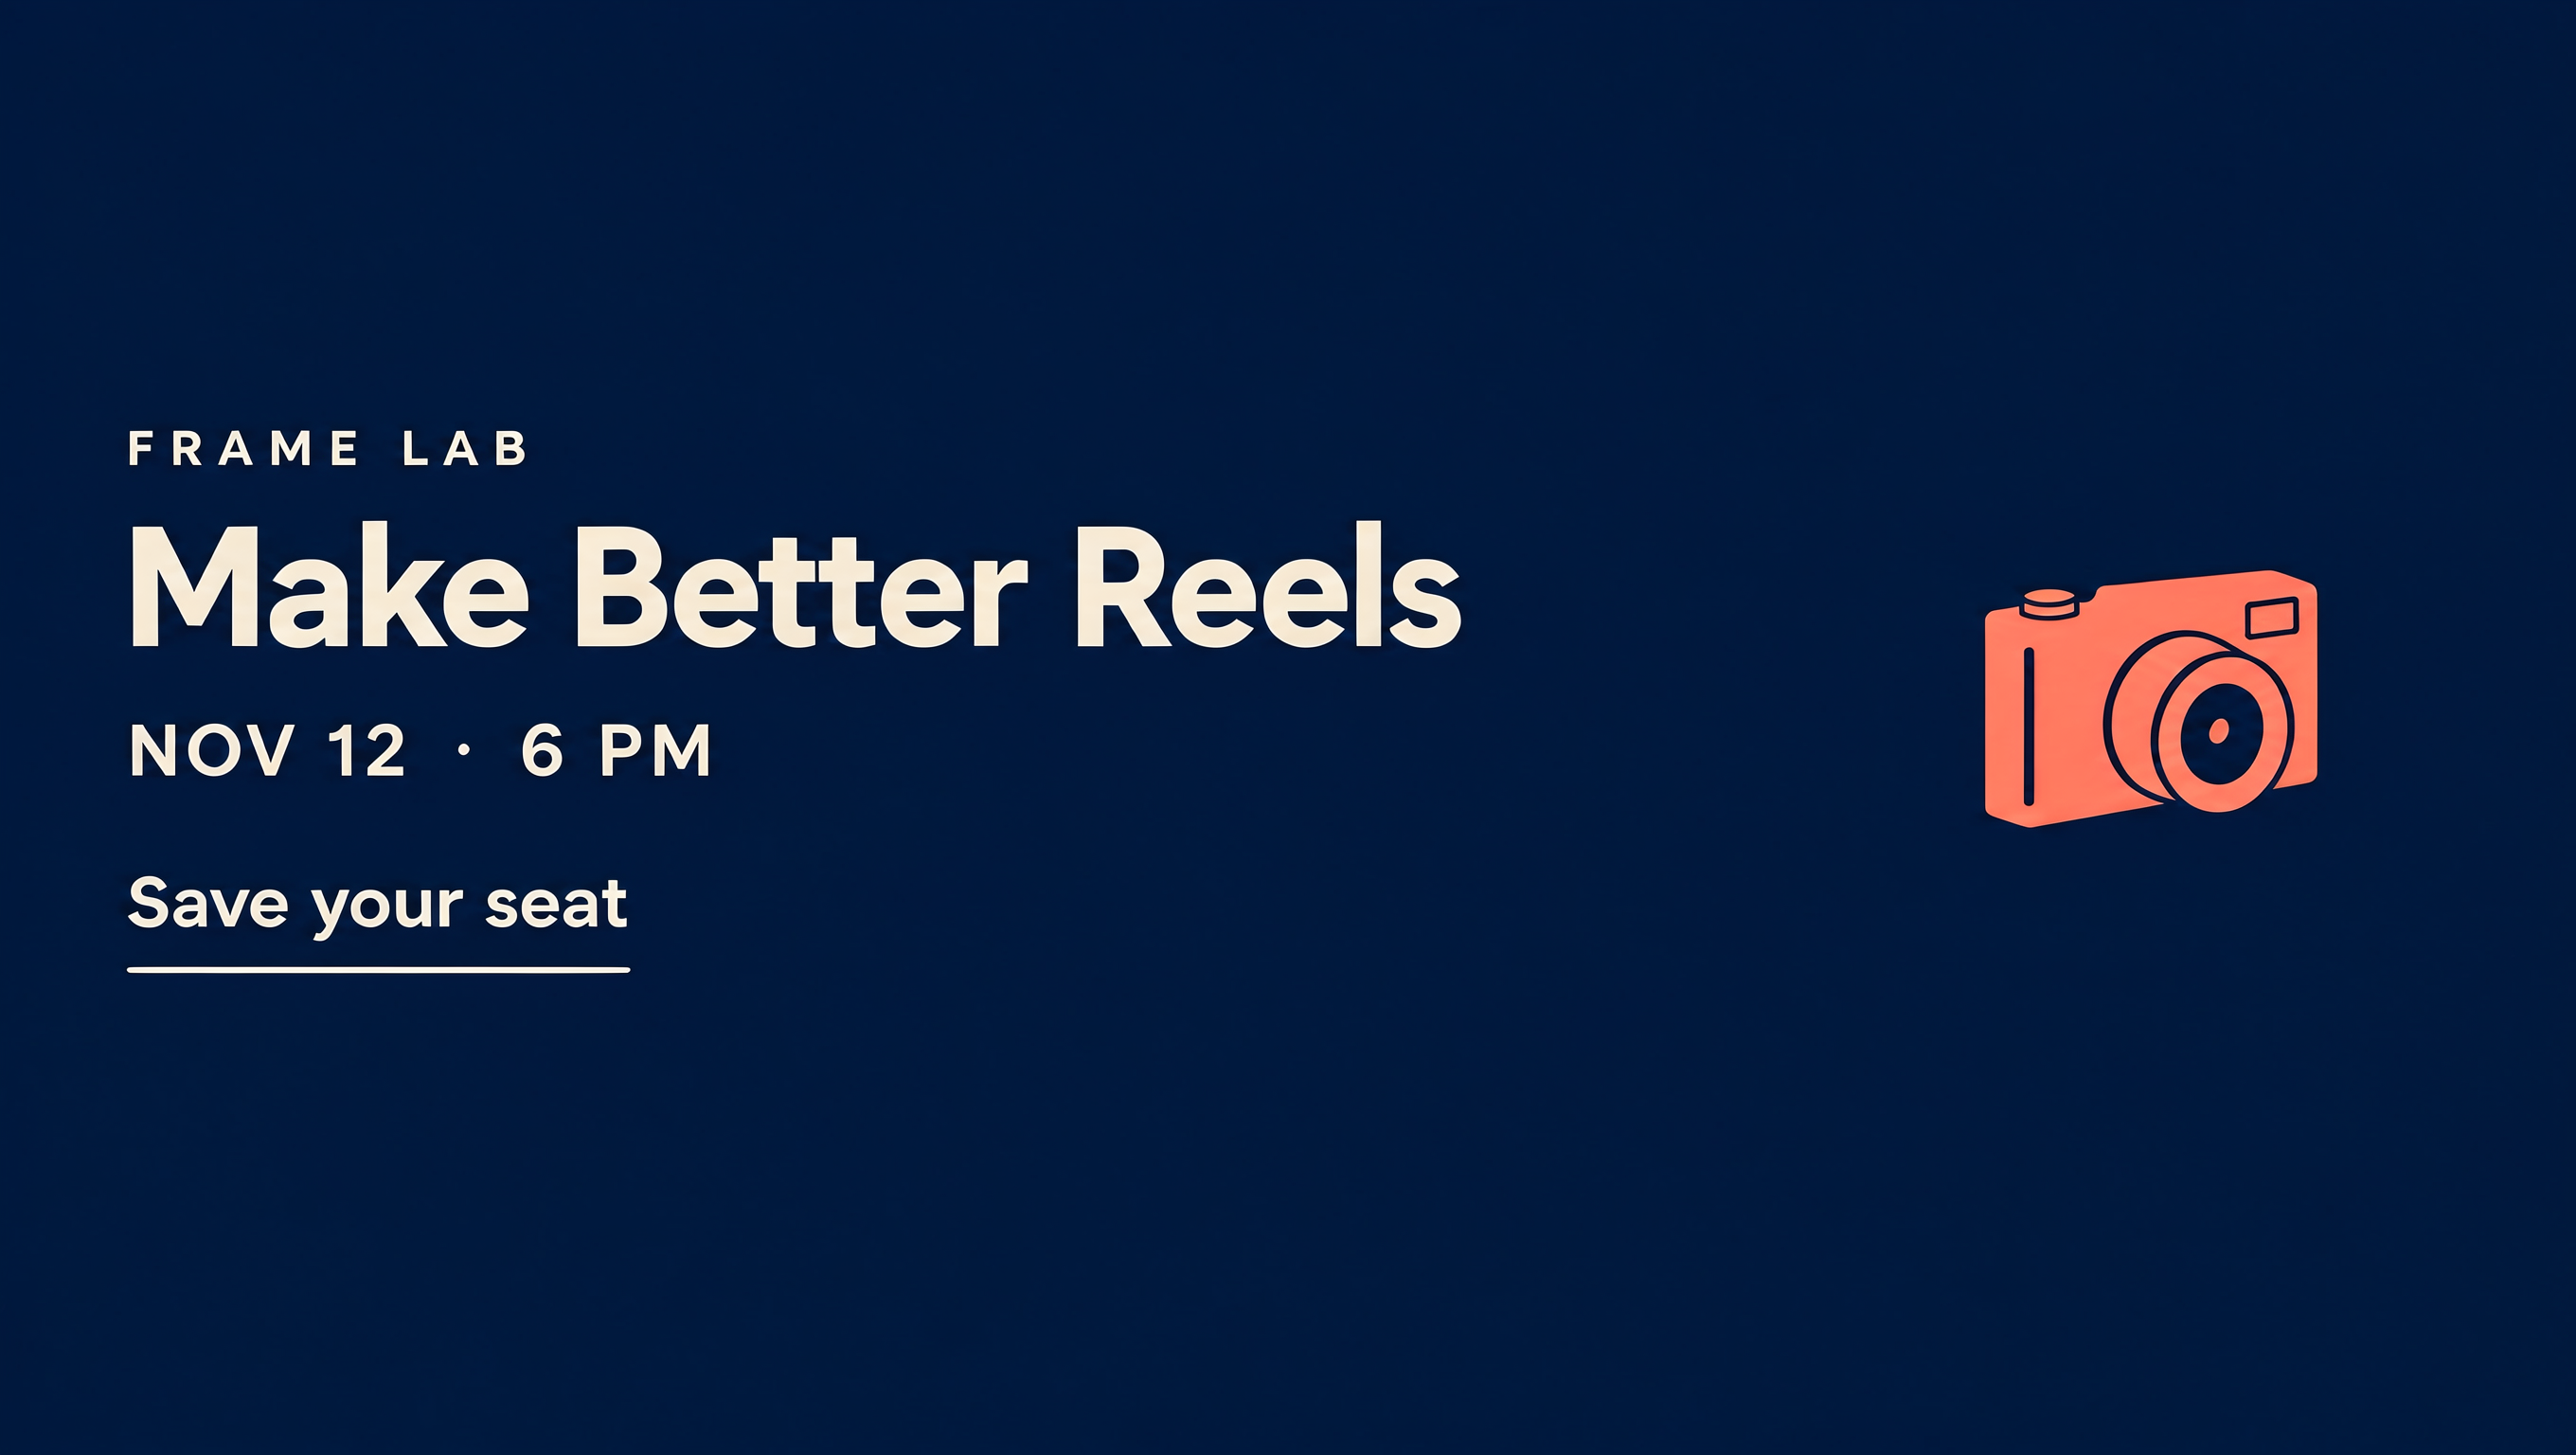
Official information checked November 10, 2026. The poster images were generated and edited on October 29; we retrieved their original files and the repaired export on November 9. One original prompt produced four variations, all retaining the requested wording in our visual check. The first batch used NOV 12. We changed the first variation to NOV 19 before using it as the shared starting image for both NOV 26 edits. The comparison covers one image and one date-change task, rather than measuring accuracy across different designs. We recreated the English editor view on November 9 using a temporary duplicate page. The downloadable PNG has account metadata removed; its pixels are unchanged.
We edited the text-box version first, using an earlier Magic Layers conversion. The AI prompt explicitly asked to keep the date on one line, so the two routes had different preparation and instructions. We kept the original outputs so you can inspect those differences yourself.
The update worksheet is an editorial aid written for this guide, separate from the Canva experiment. Its fictional example leaves event details we do not have for you to supply.
- Canva: Introducing Canva Craft. Official generation, Dream Lab access and the separate role of Magic Layers.
- Canva Help: Turn images into editable layers. Official editor steps, supported files and separation limits.
- Canva Help: Understanding your AI usage. Shared allowances and plan-dependent access.
- Canva: Introducing Canva Brush. Official description of design editing and launch availability.
- Kabo’s test record, exact prompts and retained image files. The Frame Lab event is fictional.
Complete first batch: original 1, original 2, original 3, original 4. These four images came from the same generation request. Shared NOV 19 starting image; AI-edited NOV 26 image.